Dry Chives Right: Best Practices for Flavor & Mold-Free Storage
Chives are a culinary delight, offering a mild oniony flavor that elevates countless dishes, from scrambled eggs to baked potatoes and gourmet salads. But as anyone with a flourishing herb garden knows, their prolific growth often outpaces immediate consumption. Learning
how to dry chives is an invaluable skill, allowing you to capture their fresh essence and enjoy that delicate flavor all year long, rather than letting excess go to waste. This comprehensive guide will walk you through the best practices for drying chives, ensuring they retain maximum flavor and remain perfectly preserved, free from unwanted moisture and mold.
Harvesting Chives for Optimal Flavor & Longevity
The journey to perfectly dried chives begins even before you snip them from the plant. Proper harvesting techniques are crucial for both the health of your chive plant and the flavor of your dried herbs.
*
Timing is Everything: Always aim to harvest your chives in the morning, right after the dew has dried but before the midday sun has had a chance to stress the plants. At this time, their essential oils are most concentrated, leading to a richer, more vibrant flavor. Avoid harvesting withered leaves or after a full day of harsh summer sun, as this can result in less potent chives.
*
Gentle Cutting: A simple pair of kitchen scissors or herb shears is all you need. Gather a bundle of chive stalks, and snip them about an inch or two above the soil line. Leaving a small portion of the plant intact is vital for its continued growth and ability to photosynthesize, ensuring a healthy regrowth for future harvests. Pull out any chive flowers, which can be woody, or any yellowed, dead stalks, as these won't contribute to the desired flavor or texture.
*
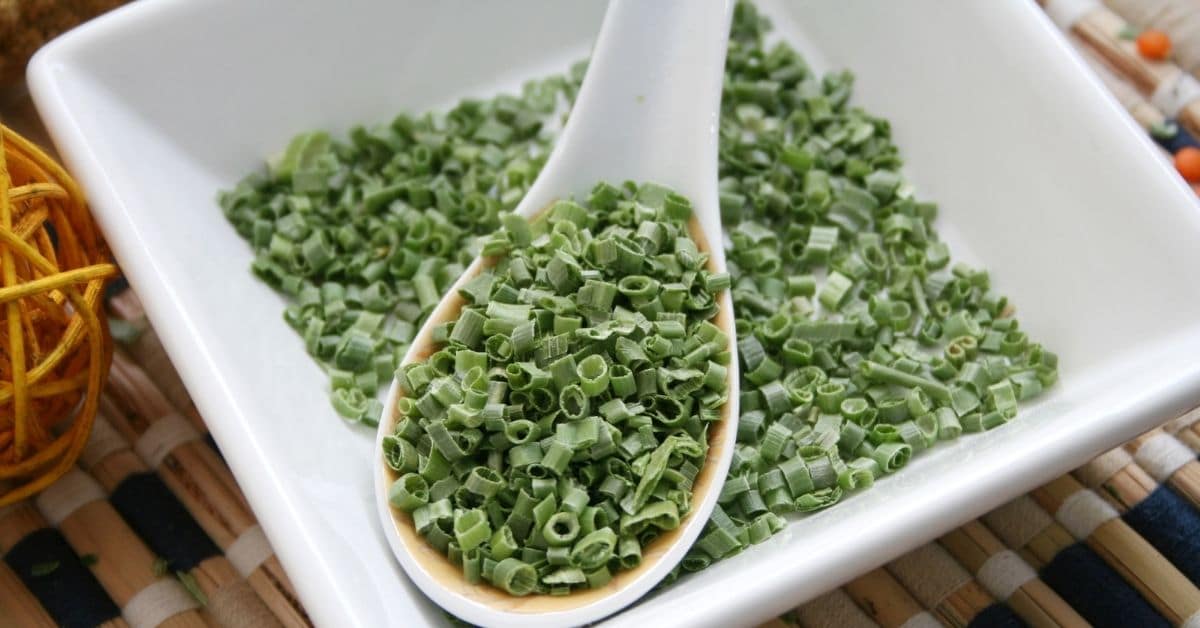
Initial Preparation: Once harvested, bring your chives indoors. Rinse them thoroughly under cool running water to remove any dirt, insects, or debris. Gently pat them dry with a clean cloth or paper towel. Excess moisture can hinder the drying process and encourage mold growth later on. Finally, snip the chives into small, uniform pieces, aiming for less than a ¼ inch. This small chop increases the surface area, allowing them to dry more quickly and evenly, which is key to preventing spoilage and retaining flavor.
Proven Methods for Drying Chives at Home
There are several effective ways to dry chives, each with its own advantages. The best method for you might depend on your equipment, climate, and personal preference. For a deeper dive into these various techniques, explore our guide on
Simple Ways to Dry Chives: Sun, Air, Oven & Dehydrator.
Sun Drying
Sun drying is a classic, energy-efficient method, especially effective in warm, dry climates.
*
Setup: Spread your finely chopped chives in a single, even layer on a parchment paper or Silpat-lined cookie sheet. The dark color of the chives allows them to absorb sunlight effectively.
*
Location: Place the cookie sheet in direct sunlight outdoors. A patio or deck works well.
*
Process: Periodically toss or stir the chives every couple of hours to ensure uniform drying. The drying time will vary significantly based on the chives' moisture content, their volume, and the ambient temperature and humidity. On a hot, low-humidity day (e.g., 90°F with low humidity), chives might dry completely in as little as 4-6 hours. You'll notice a significant reduction in volume, often by half, as they dry.
*
Readiness Test: The chives are fully dried when they are brittle and crumble easily between your fingers. There should be absolutely no pliability or moisture detectable.
Food Dehydrator
For consistent results and faster drying, a food dehydrator is an excellent investment for preserving herbs.
*
Preparation: Harvest and prepare your chives as described above, ensuring they are clean and chopped.
*
Loading: Spread the chopped chives evenly on your dehydrator trays, following the manufacturer's instructions to avoid overcrowding.
*
Settings: Set the dehydrator temperature to a low setting, typically between 95-125°F (35-50°C).
*
Drying Time: Dehydrate for 1-4 hours, checking every hour. The precise time will depend on the thickness of the chives and the dehydrator model. They are ready when they are completely brittle.
Air Drying
Often considered the best method for retaining optimum flavor and aroma, air drying eliminates direct heat, minimizing the risk of scorching and flavor loss.
*
Method: Tie rinsed (but thoroughly dry) chives in loose bundles. Ensure good air circulation by not tying them too tightly.
*
Location: Hang these bundles upside down in a warm, dry area with good air circulation, away from direct sunlight (which can bleach the color and degrade flavor) and humidity. A pantry, a corner of a kitchen, or even a well-ventilated attic can work.
*
Protection: To prevent dust and pests, you can loosely cover the bundles with a muslin cloth or paper bag (with holes for ventilation).
*
Duration: Air drying typically takes 1-2 weeks, depending on humidity levels. Check regularly for complete dryness.
Oven Drying
For those without a dehydrator, an oven can be used, though it requires careful monitoring.
*
Setup: Line a baking sheet with parchment paper and spread the chopped chives in a single, even layer.
*
Temperature: If using a gas oven, set it to its absolute lowest temperature setting. For electric ovens, the lowest setting (often 150-170°F or 65-75°C) is also suitable, but you might need to leave the oven door ajar a few inches to allow moisture to escape and prevent the chives from cooking rather than drying.
*
Monitoring: Check the chives every 10-15 minutes, tossing them occasionally. They are ready when they are brittle and crumble easily. This method can be faster than air drying but carries a higher risk of over-drying or burning, so vigilance is key.
Ensuring Mold-Free Storage and Maximizing Shelf Life
The final, and perhaps most critical, step in preserving chives is proper storage. Even perfectly dried chives can be ruined by improper storage, leading to flavor degradation or, worse, mold growth. This emphasis on careful storage is paramount to
Unlock Year-Round Flavor: How to Easily Dry Chives at Home.
*
Verify Dryness: Before storing, double-check that your chives are
absolutely bone dry. Crush a piece between your fingers; it should shatter easily. Any residual moisture is an invitation for bacteria and mold. If you suspect any dampness, return them to your chosen drying method for a bit longer.
*
Airtight Containers: Transfer the thoroughly dried chives into a clean, dry, airtight container. Glass mason jars with tight-fitting lids are ideal, as they provide an excellent seal and protect the herbs from light. Plastic containers with good seals can also work.
*
Optimal Storage Location: Store your dried chives in a cool, dark, and dry place. A pantry, a cupboard away from the stove, or the back of a rarely used shelf is perfect. Heat, light, and humidity are the enemies of dried herbs, as they can cause flavor loss and encourage moisture reabsorption. Avoid storing them near heat-generating appliances like stoves or dishwashers.
*
Shelf Life: Properly dried and stored chives can maintain their potency for up to a year. While they won't spoil after that, their flavor and aroma will gradually diminish. For best results, aim to use them within 6-12 months.
Common Mistakes to Avoid When Drying Chives
Even with the best intentions, a few missteps can compromise your efforts to preserve chives effectively.
*
Harvesting at the Wrong Time: Picking chives when they're parched from the afternoon sun results in less flavorful dried herbs. Stick to mornings for peak potency.
*
Inadequate Cleaning and Drying: Not washing chives properly leaves behind dirt, and failing to pat them dry before drying methods (especially air or dehydrator) introduces extra moisture that prolongs the process and invites mold.
*
Not Chopping Small Enough: Larger pieces take longer to dry, creating potential pockets of moisture that can lead to spoilage. Uniform, small pieces are key.
*
Overcrowding: Whether sun drying, dehydrating, or oven drying, spreading chives too thickly prevents even airflow and prolongs drying time, increasing the risk of uneven drying and mold.
*
Storing Before Completely Dry: This is arguably the most critical mistake. If there's any moisture left, even a tiny amount, it will create a humid environment inside the sealed container, leading to rapid mold growth and a wasted batch of chives. Always err on the side of slightly over-drying.
*
Improper Storage Conditions: Storing dried chives in a clear jar on a sunny windowsill, for example, will quickly degrade their flavor and color. Always choose a cool, dark, and dry spot.
Drying chives is a rewarding process that allows you to enjoy the fresh, delicate flavor of this versatile herb long after the growing season ends. By following these best practices for harvesting, drying, and storage, you can ensure your dried chives are not only bursting with flavor but also remain perfectly preserved and mold-free, ready to enhance your culinary creations whenever inspiration strikes.